Stand on It

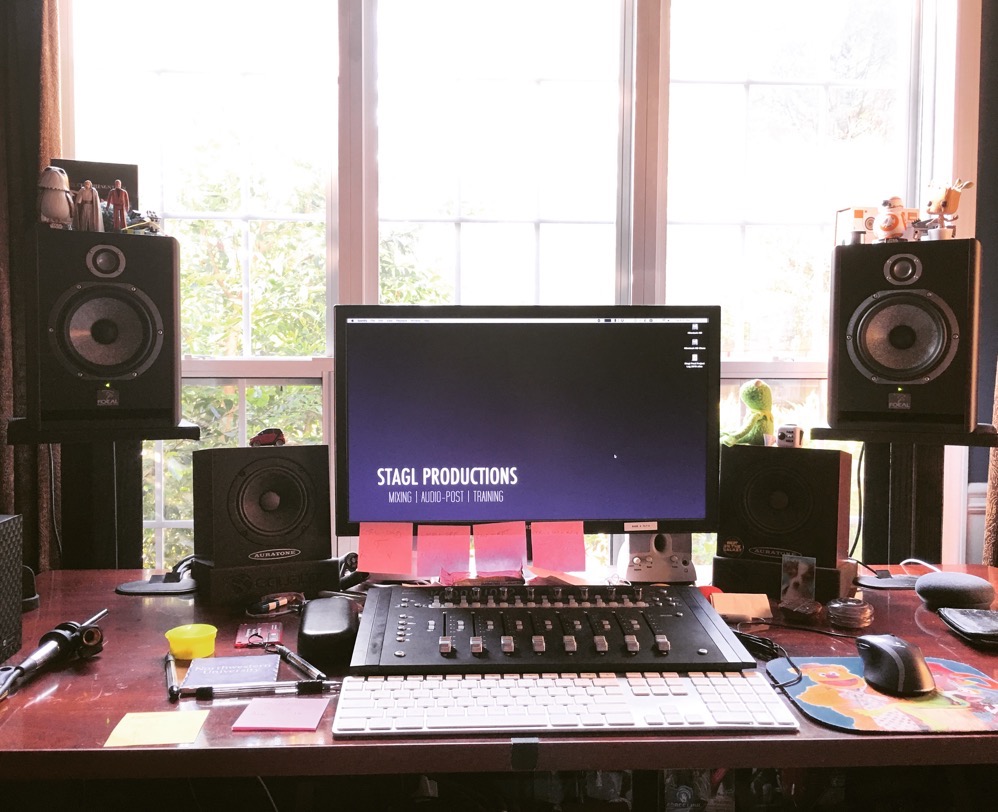
Original Studio Setup
This one’s for everyone setting up broadcast suites or studios. One of the things I always knew with my old setup in my studio is my monitors were too close. I had them on my desk sitting on a pair of Isoacoustic stands to get them up to ear height. The width on them was right for proper stereo imaging, but I discovered having them so close was actually throwing off how I handled top end in mixes a bit.
Speaking of width, here’s a speaker placement tip. Most engineers know your speakers and your listening position should ideally form an equilateral triangle. Here’s what most engineers miss, though: The apex near your listening position should be just behind your head so your head is just inside the triangle when you listen. When you get this right and get to hear it, you’ll probably start to understand–like I did–why there is no such thing as a wide sweet spot and why stereo doesn’t work in live sound. But I digress.
Ideally, nearfields should be about 3′-10′ away from where you’re listening, but in order to do that with my new monitors I needed to get some speaker stands. The problem with speaker stands is most of what I found for sale was, in my opinion, overpriced so I decided to build my own. I’m not generally a fan of building stuff, but this was a pretty simple project.
The sturdier your stands are, the better off you’ll be. For example, I came really close to making stands out of cinder blocks which weigh 36 lbs. a piece. I would have needed three per stand, though, and logistically that’s too heavy for me to get in place right now within my current setup. I also looked at some designs that would have filled the stands with sand to give them more weight, but constructing them in a way to prevent them from leaking sand all over my studio was a little more work than I wanted to do. In other words, I wanted to get my monitors up and running as soon as possible so for these stands I went very simple.
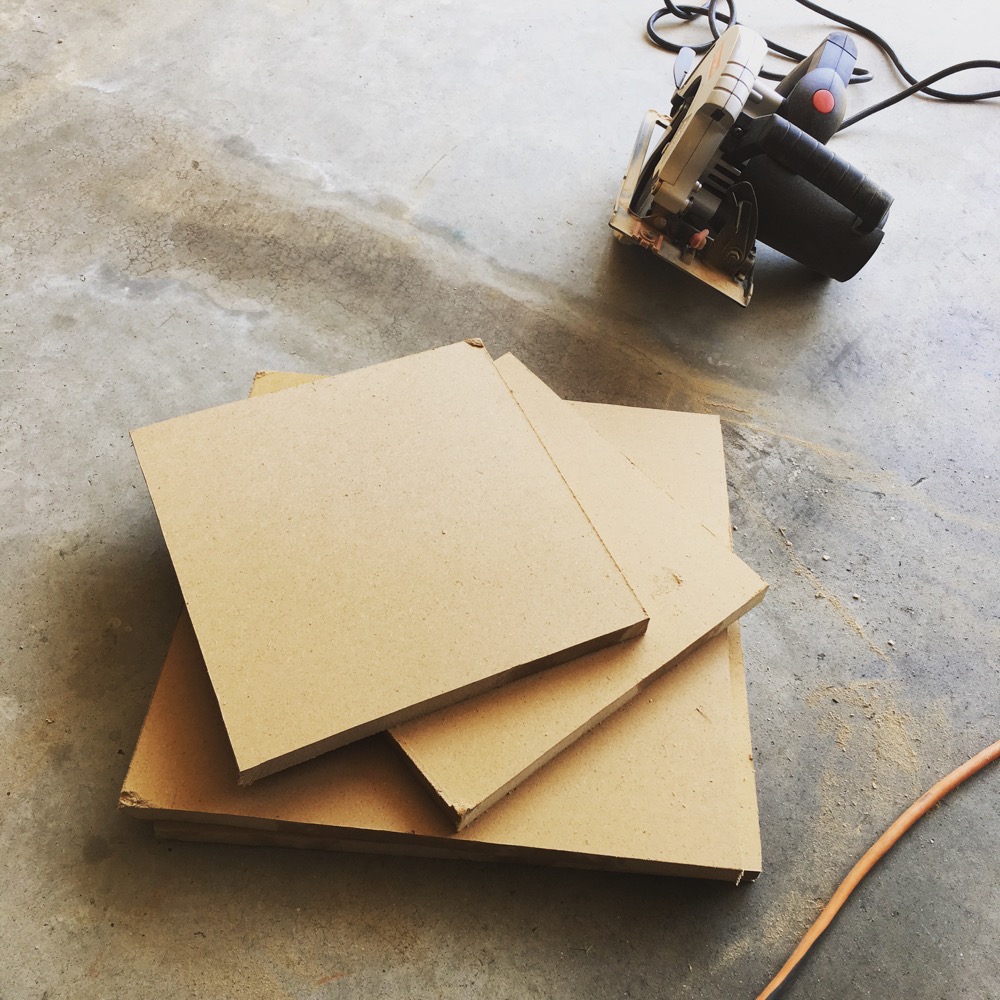
We had a sheet of 3/4″ MDF in our garage so I used that for the bases. I cut 16″x16″ plates for the bottom and 12″x12″ plates for the top which are about as deep and maybe an inch or two wider than my monitors. Then I picked up a couple 8′ 2×6’s from Home Depot.
My ears sit about 48″ high when I’m in my chair so I measured where the tweeters sit in the monitors and subtracted that along with 1.5″ to account for the bases from 48″ to figure out how long the 2×6’s needed to be. In retrospect, I probably should have added another inch or two so that my ears are centered between the drivers of the speaker, but on my particular monitors the tweeter and low/mid driver are so close I don’t think it’s a big deal. In general it’s better to have your speakers a little above where they should be than below.
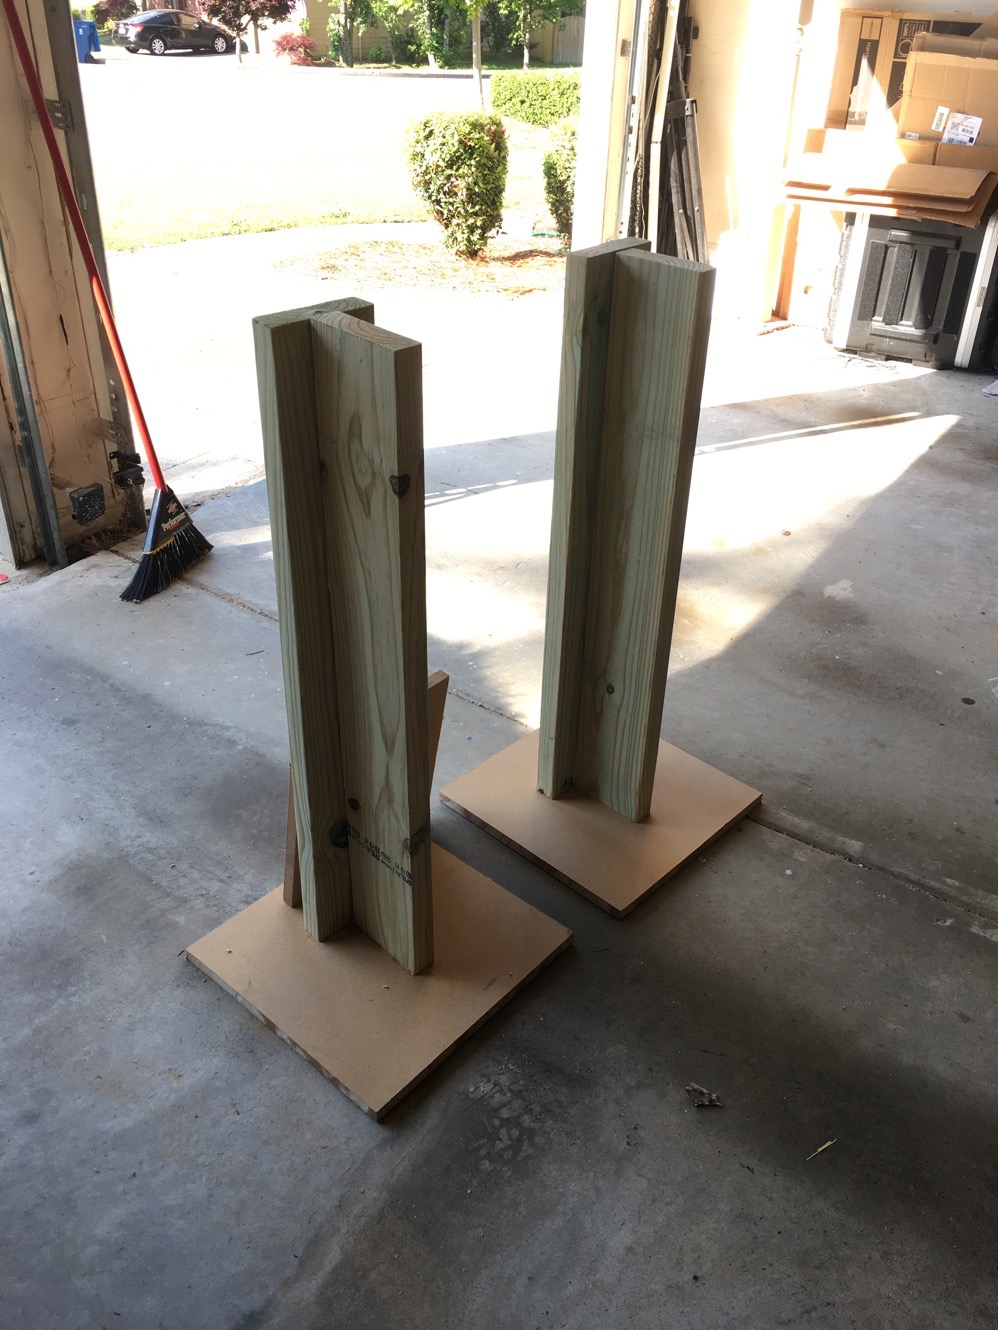
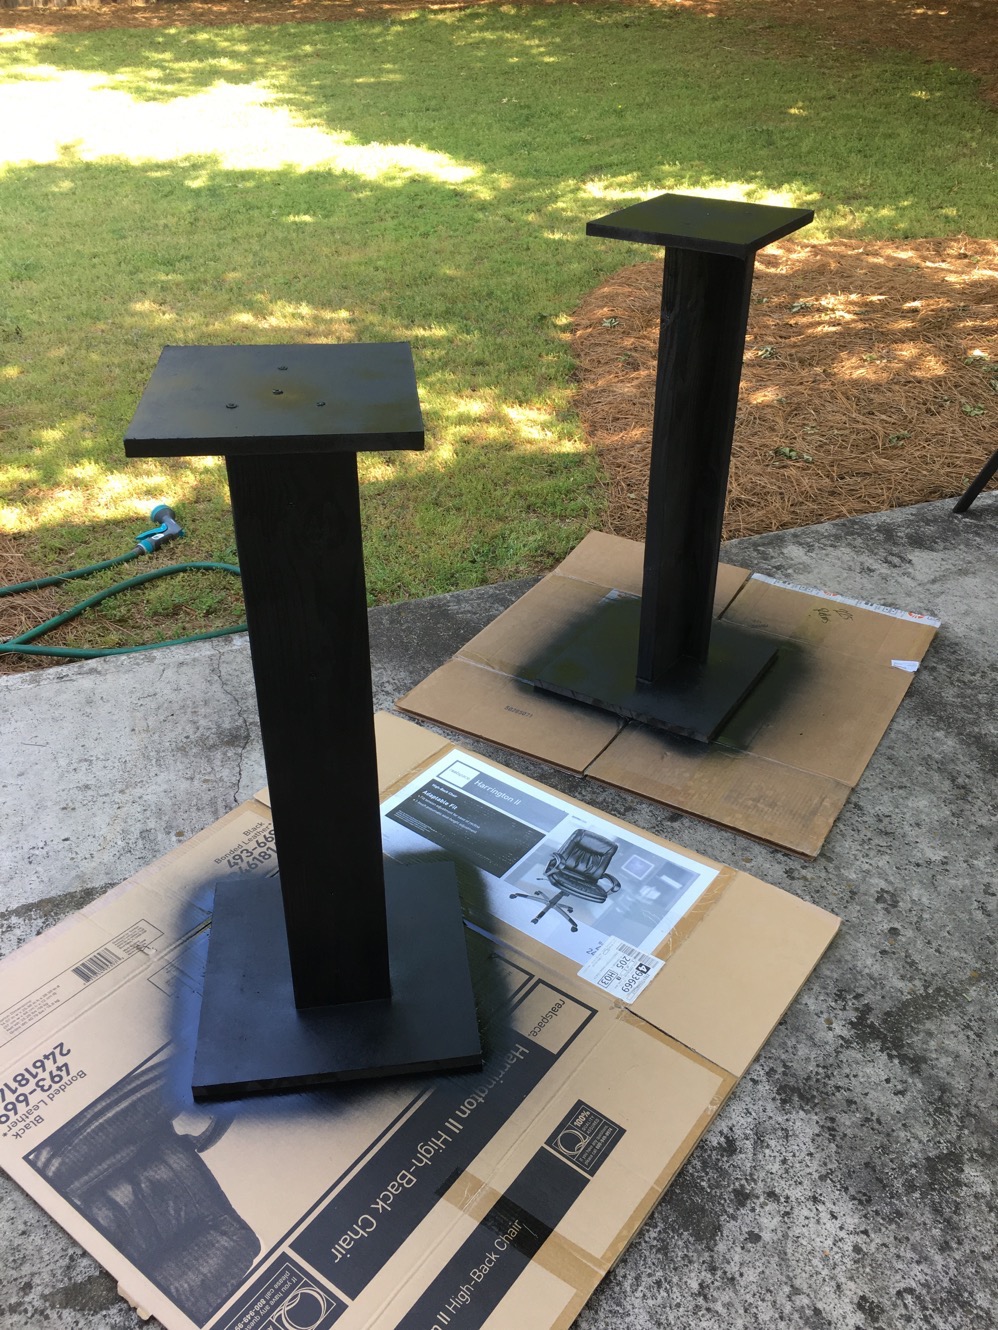
After cutting the 2×6’s, I glued and screwed them together in a “T” shape to add more stability and rigidity to the stands per my wife’s idea since she’s much more crafty at this stuff than me. Then I centered the 2×6’s on the bases and glued and screwed them to the bases. I finished them off with about a can and a half of black spray paint which coated both stands. The final touch was to take some black, rubber shelf-liner and cut two sheets to the size of the top base simply because I didn’t want to set my new monitors on the bare wood.
Building these was much easier than the acoustic treatment I did a few years back, and now I have my main monitors in a better location. So if you need speaker stands and are into building things or even have a friend who’s into building things, I’d highly recommend you just build your own monitor stands. The equivalent of what I built would probably sell for over $200, and my cost of materials was a fraction of that.

Bases

Legs Attached

Painting

New Stand in Place


 Previous Post


